Architecture Overview
Fleet Manager uses a hub-and-spoke model:- The hub is in glo1: this is the same for both dev and prod.
- Satellite instances exist for specific deployments.
- In dev, everything currently resides in the glo1 cluster.
- Dev and prod are on separate physical networks. To access nodes or do enrollment testing, you must connect to the management network via the dev Kubernetes cluster or the dev VM.
Prerequisites
- Access to Teleport (nscale.teleport.sh)
- Membership in the Fleet squad (request access in the fleet squad Slack channel if needed)
- Access to Argo for the dev cluster
Step 1: Build and push a Docker image
From your branch in the fleet-manager repo, run:main-<tag> or <your-branch>-<tag>). You can monitor progress in the fleet-manager Actions tab.
Step 2: Update the Fleet Manager Helm chart
In thek8s-deploy-fleet-manager repo, go to charts/fleet-manager/values.yaml:
- Update the image tag to match the tag created in Step 1.
- Update the chart version to match your branch name.
Testing a configured pinned agent (NetBox agents)
NetBox agent image tags are bundled inside the Fleet Manager hub chart — they’re declared indeployment/charts/hub/release/agent-versions.yaml in the fleet-manager repo, not in this repo’s values.yaml. To test a custom agent image, edit that file on your fleet-manager branch:
chartVersion: <your-branch-name> you set in Step 2 already points the dev Argo CD Application at your branch, so the modified agent-versions.yaml will flow through when Argo syncs. No additional change in k8s-deploy-fleet-manager is required for agent-image testing.
Step 3: Update the K8s cluster config
In the k8s-cluster-fleet-manager repo:- Check out or create a branch.
- Navigate to
glo1/development/fleet-manager.yaml(since dev is all in glo1). - Update the
targetRevisionto match the branch name from Step 2. - Push the changes.
Step 4: Sync via Argo
-
Open Argo (
fleet-mgr-dev-glo1-argocd) and navigate to thek8s-cluster-fleet-managerapp. -
Click on the
k8s-cluster-fleet-managernode on the left of the diagram.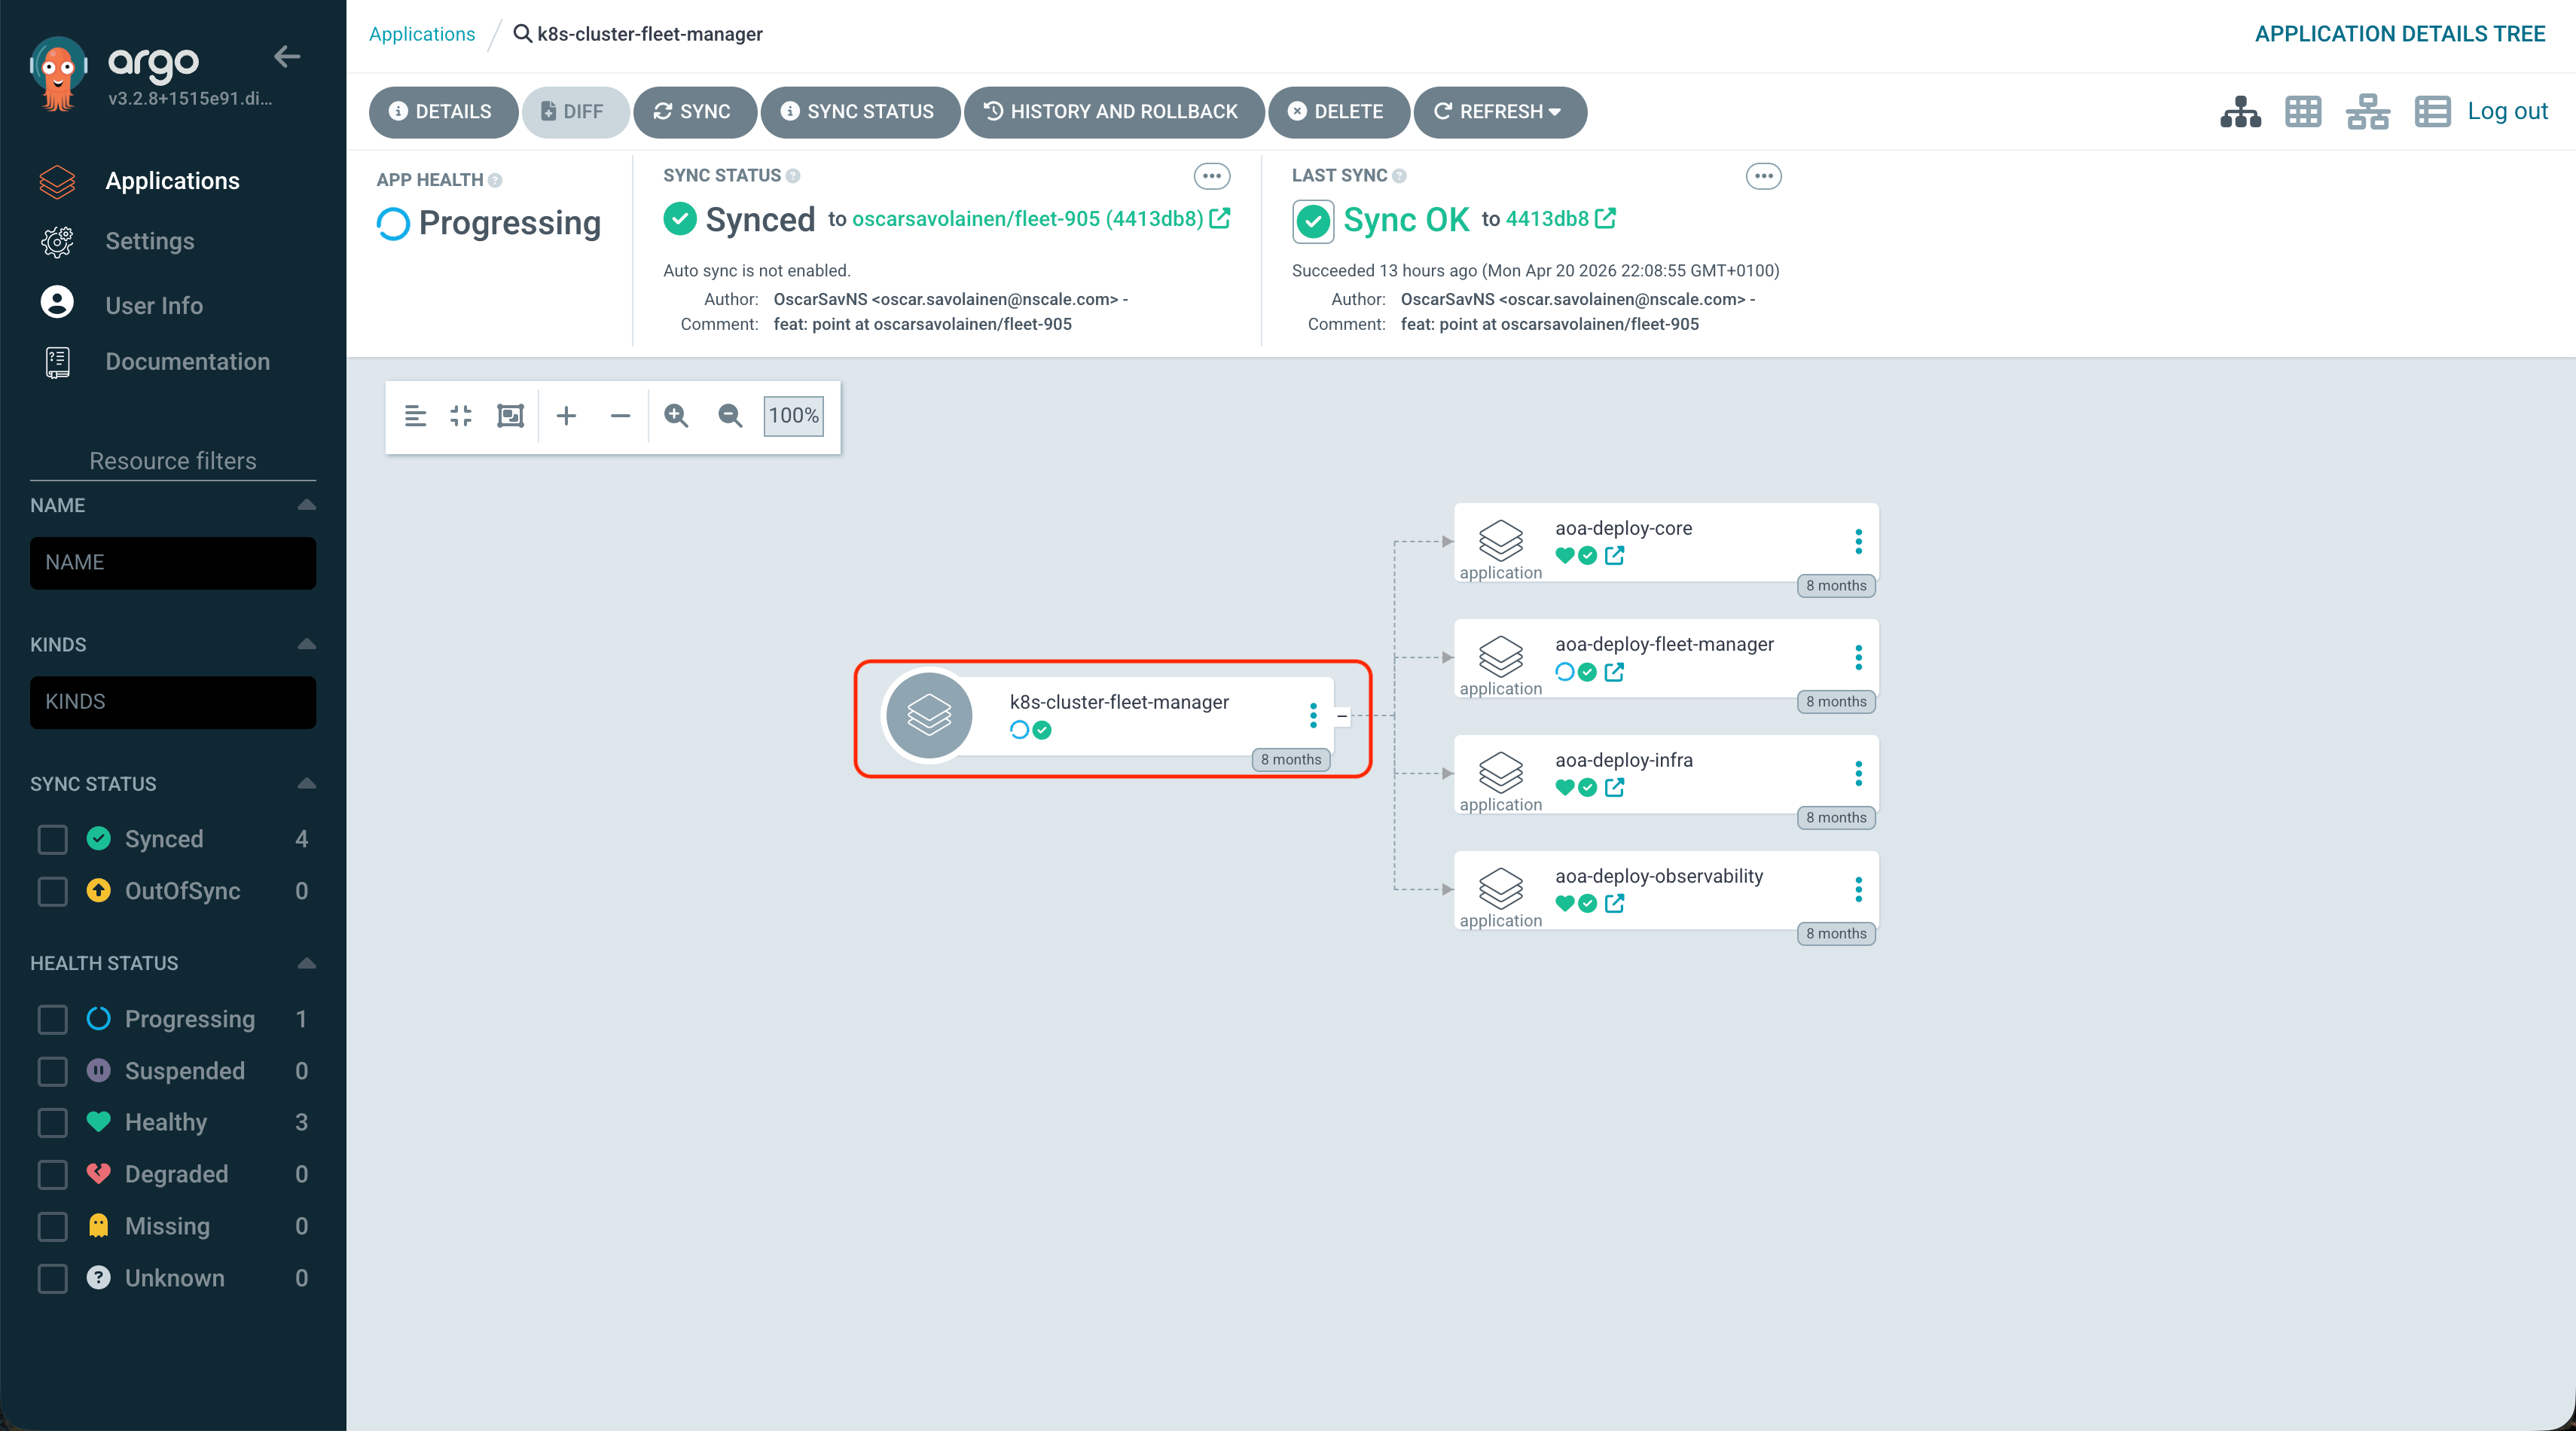
-
Set the target revision to your branch name in
k8s-cluster-fleet-managerand click Save.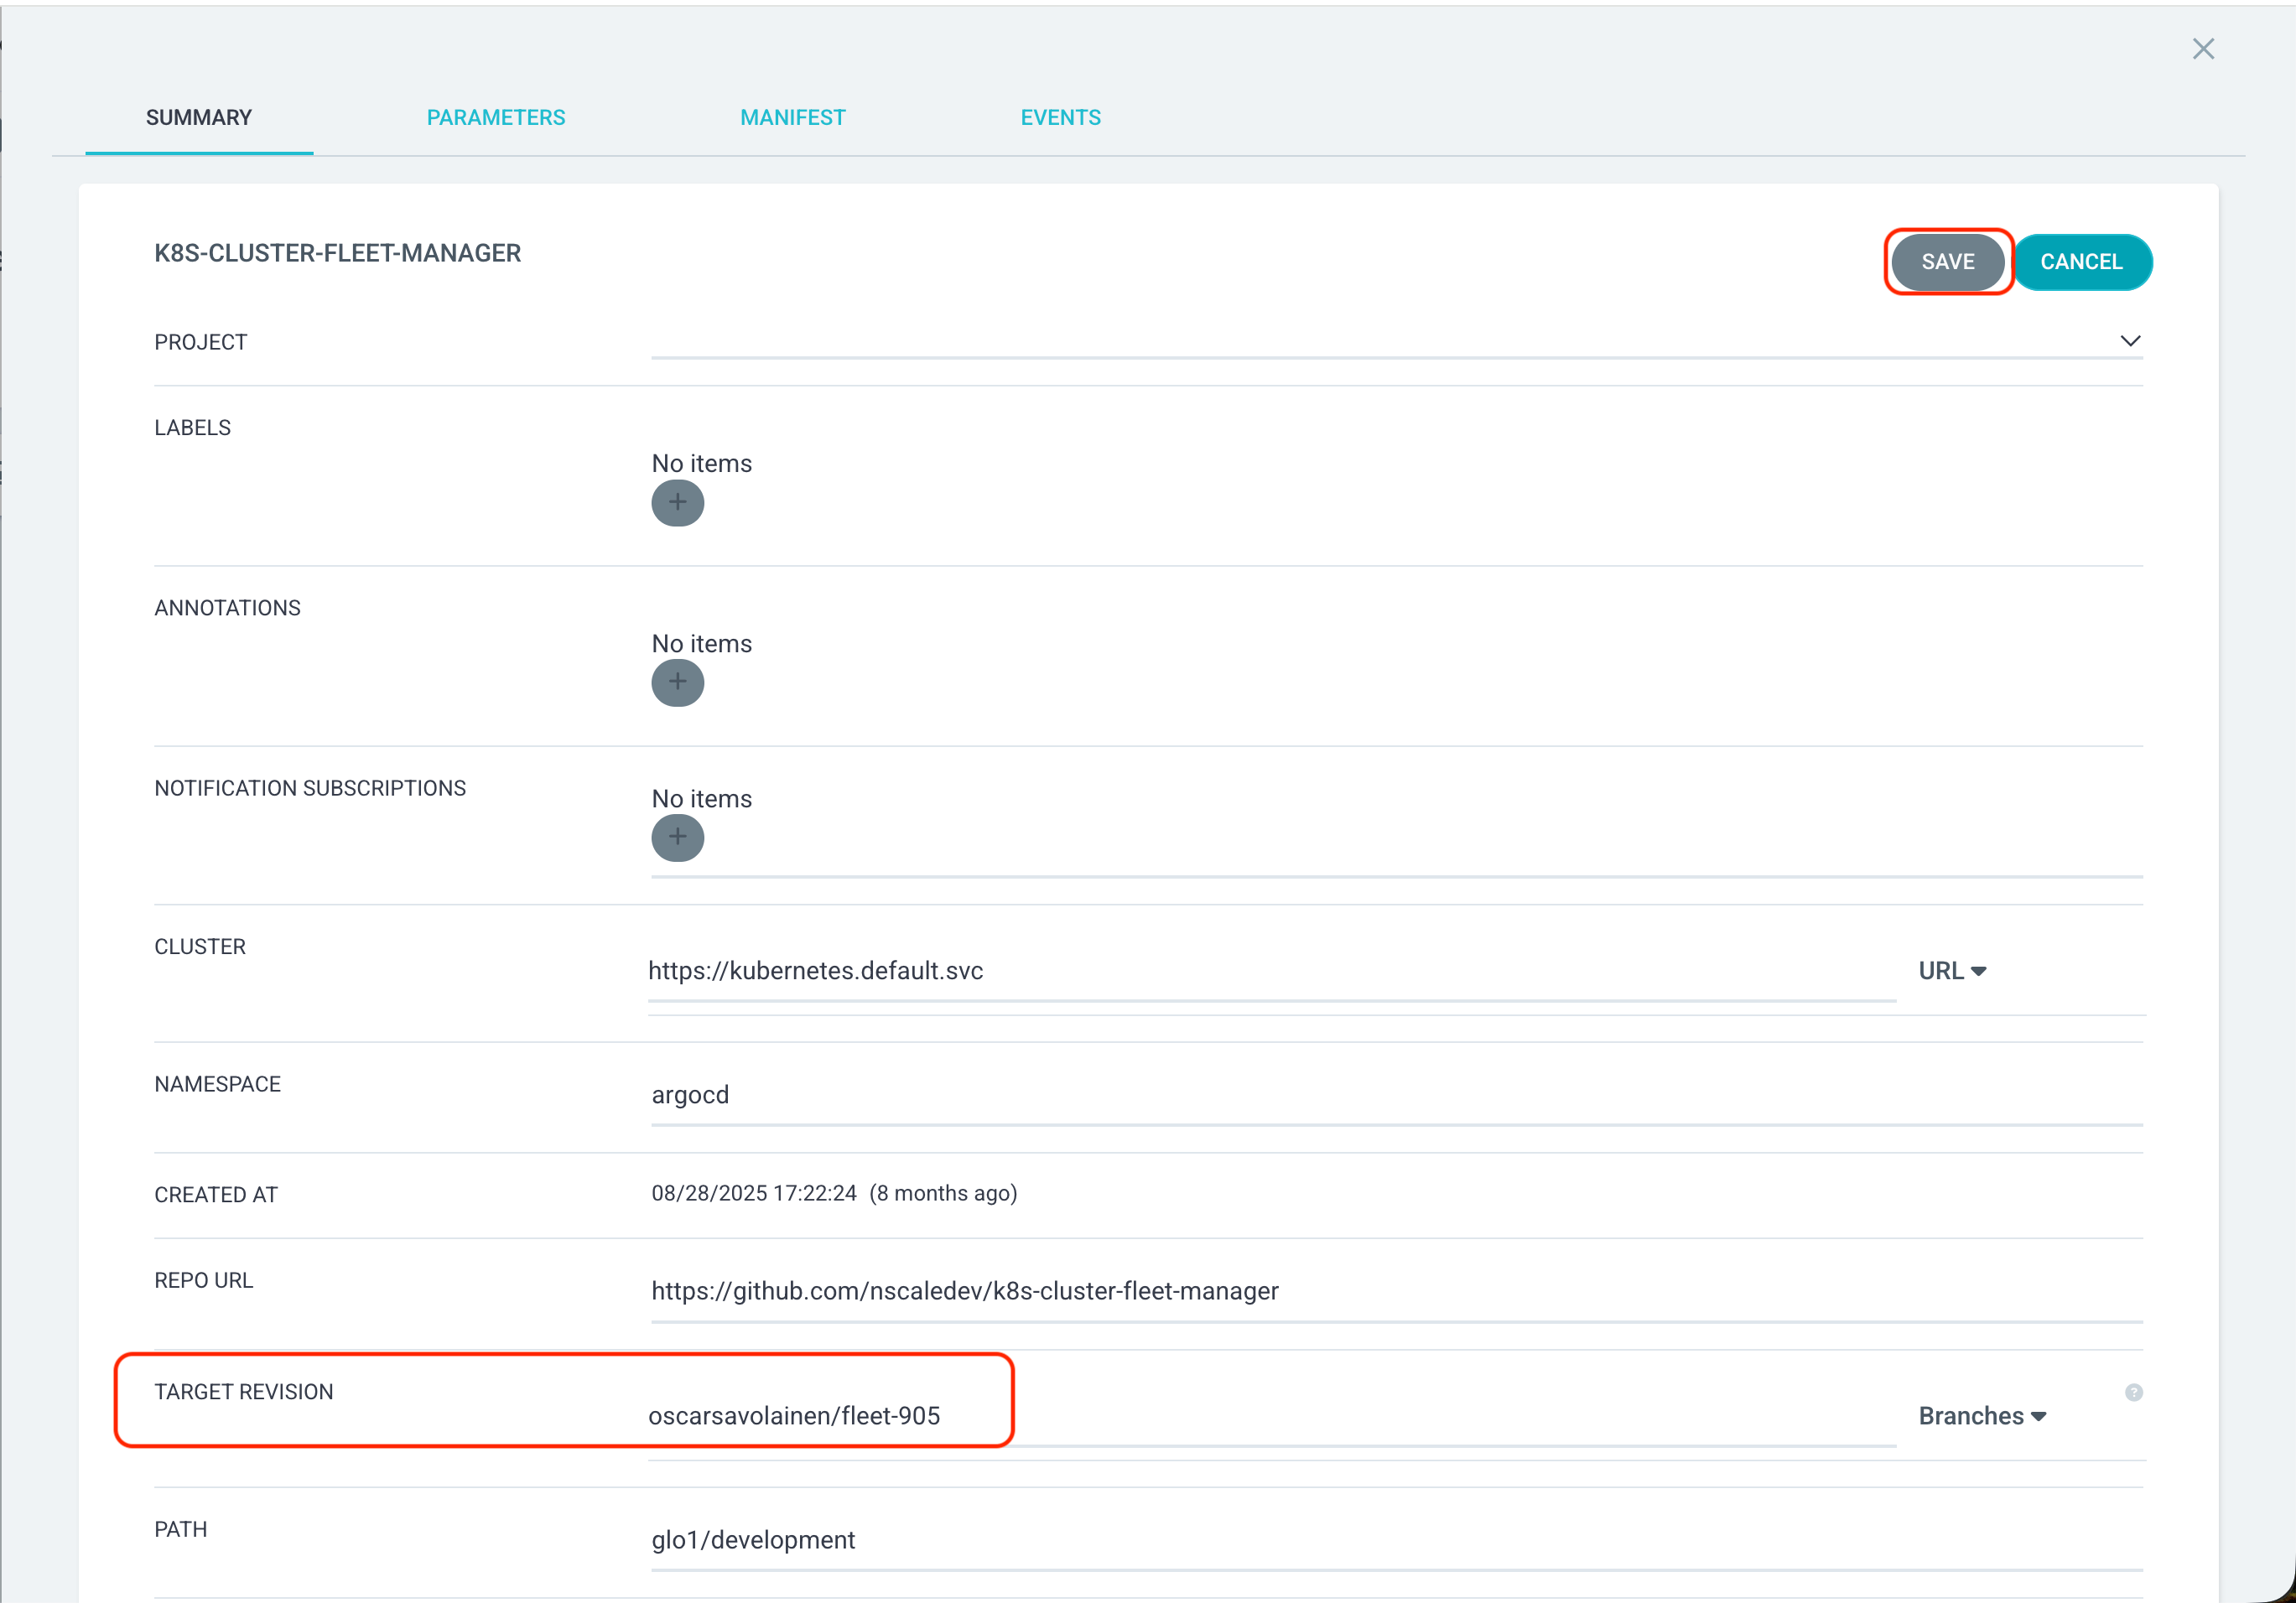
-
Click Sync (dev is manually synced).
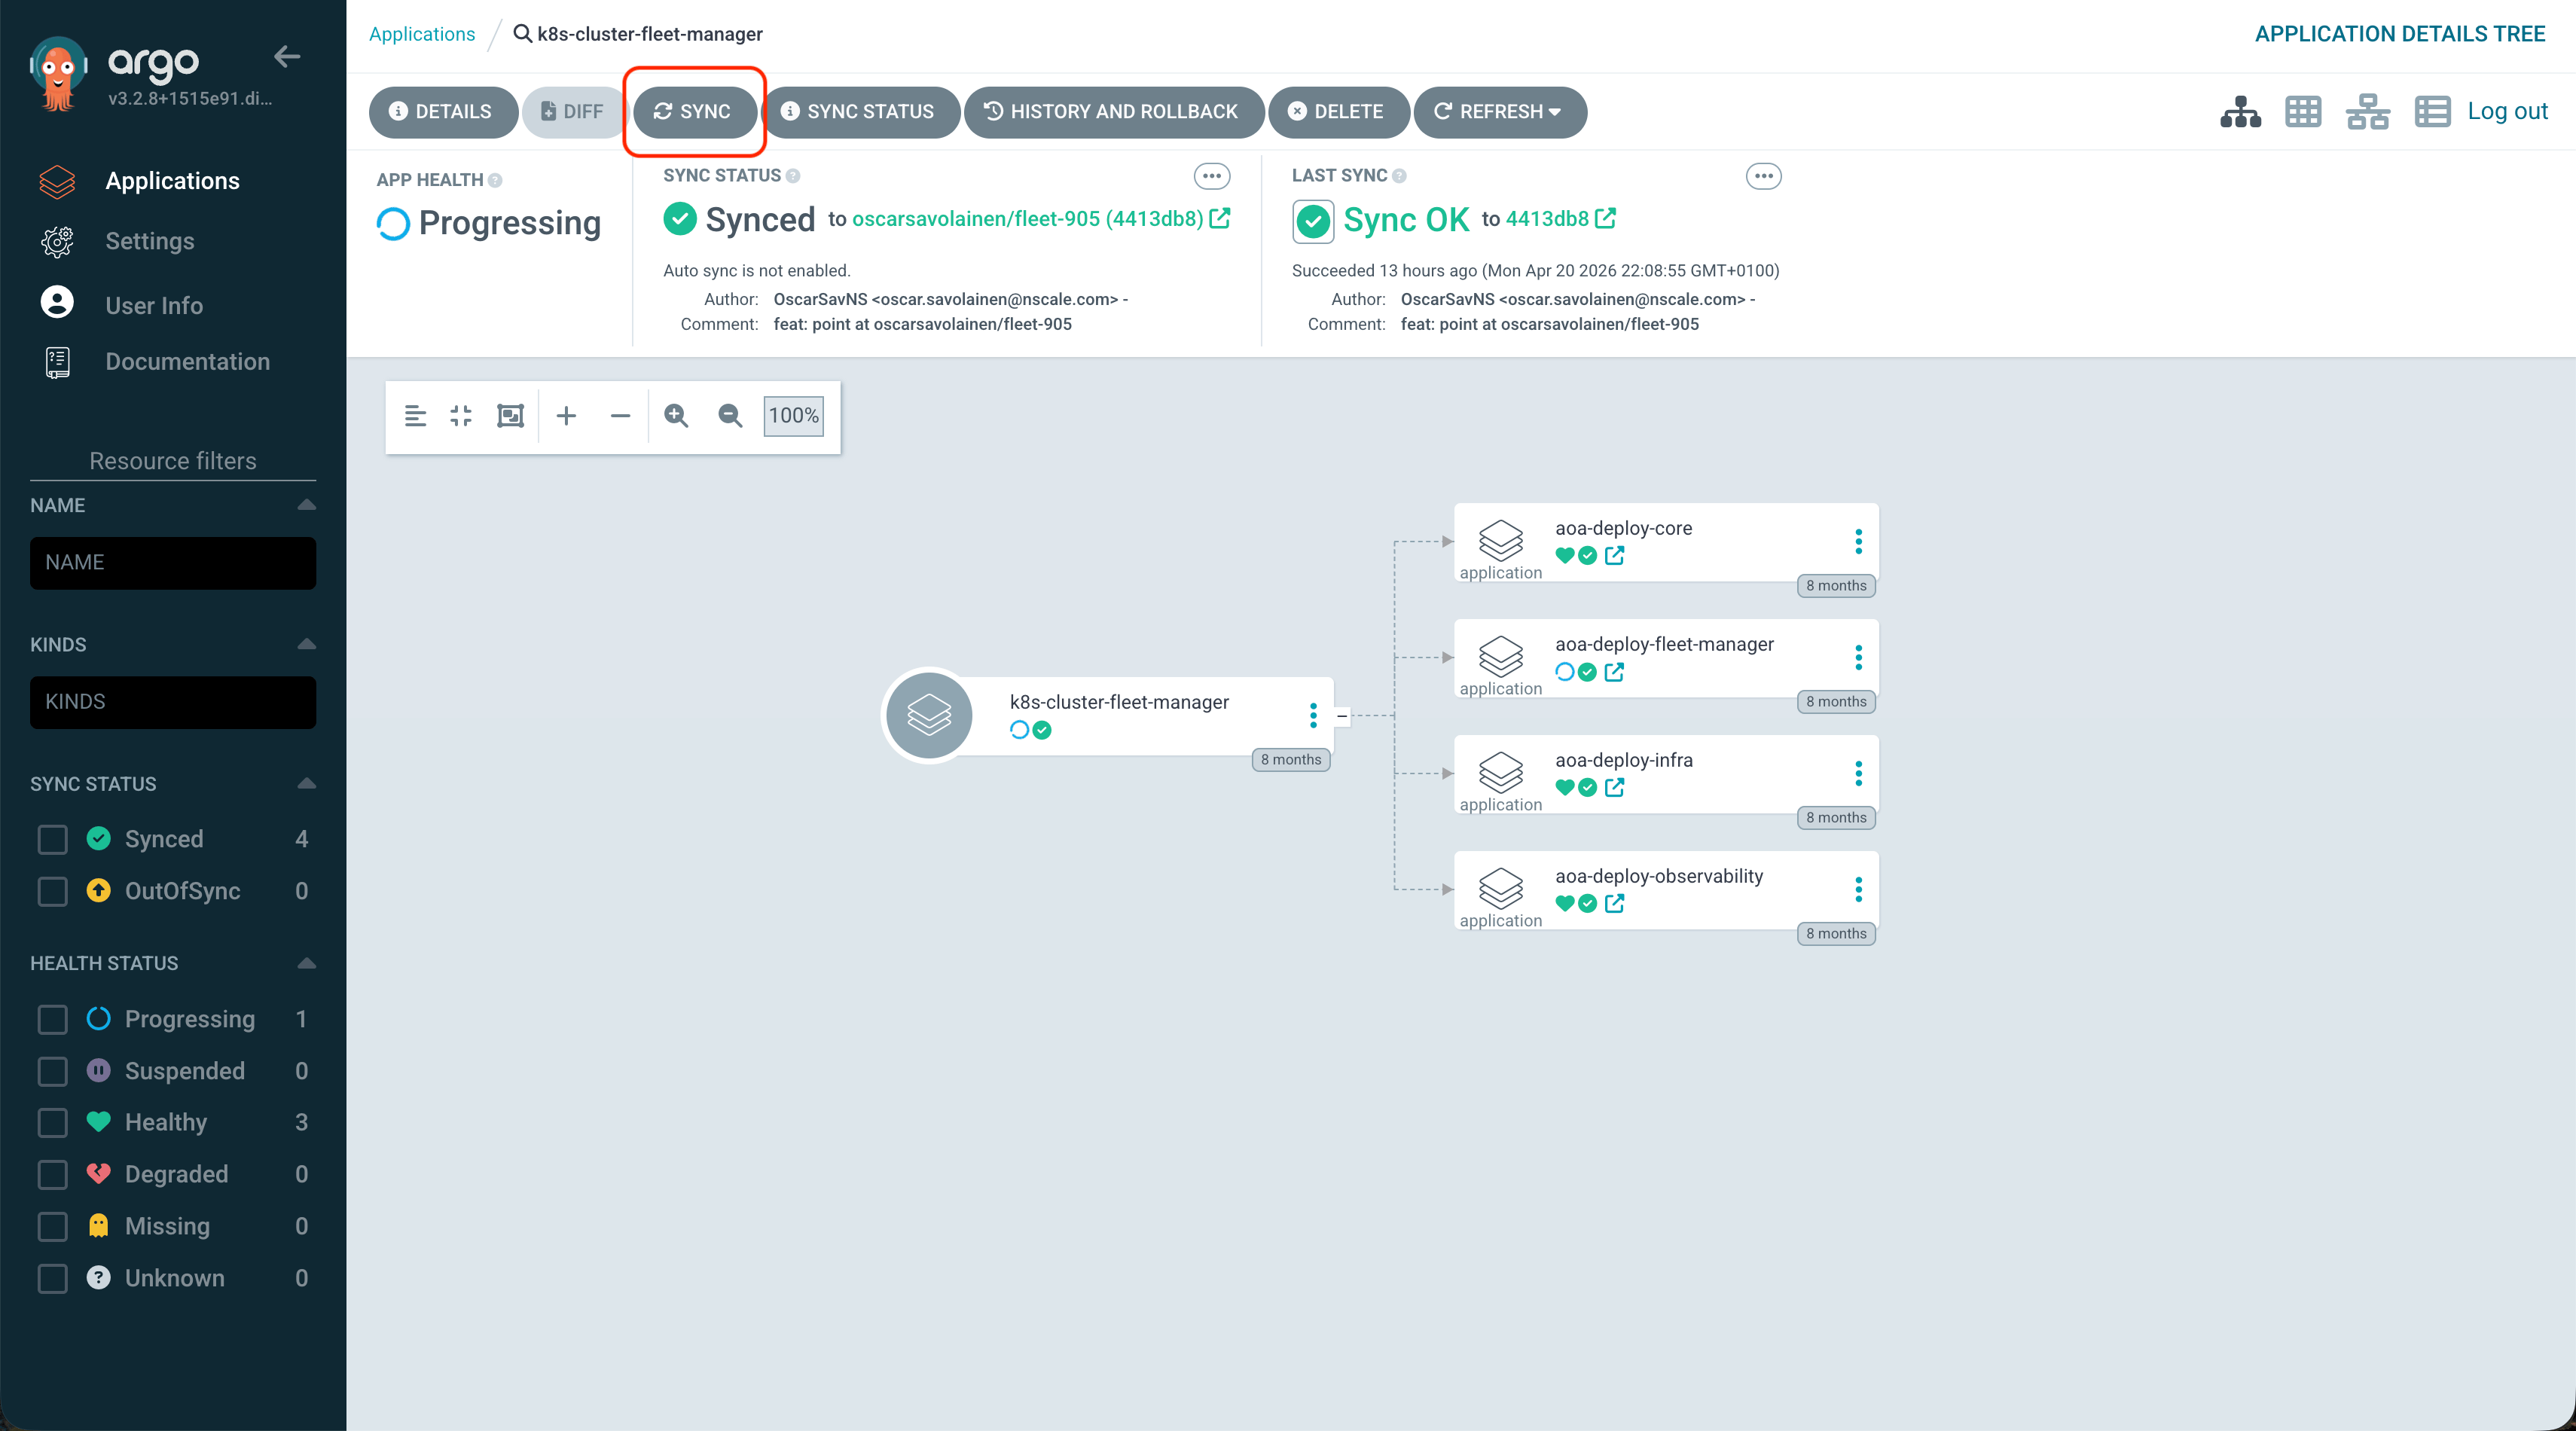
- Wait for the API migration to run and pods to restart. This typically takes up to 5 minutes.
For cluster-only changes (e.g. changing Postgres replicas): if your change only touches
k8s-cluster-fleet-manager, you can edit directly in the repo, push, and sync. No need to rebuild the Docker image.Step 5: Reset the shared dev deployment when done
Once your testing is complete, restore the shared dev environment tomain so the next engineer starts from a clean baseline.
- In
k8s-cluster-fleet-manager, revertglo1/development/fleet-manager.yamlto pointtargetRevisionback tomainand push. - In Argo (
fleet-mgr-dev-glo1-argocd), set the target revision ofk8s-cluster-fleet-managerback tomain. - Click Sync.
Testing and Debugging
Dev health checks
After syncing a dev deployment, verify the shared environment is healthy:- Check
#fleetmanager-alerts-devfor active alerts. No alerts, or clearly healthy alerts, is check 1. - Check
#fleet-manager-test-resultsfor test status. All okay is check 2. - Verify the Fleet Manager dev Grafana dashboard for alerts and related metrics/logs. A healthy dashboard is check 3.
Hitting the API directly
- API credentials (PKI/CA certs) for dev live in the Fleet Manager Hub Dev 1Password vault.
- Download the certs and use them to hit the API from your local machine.
Django Admin Panel
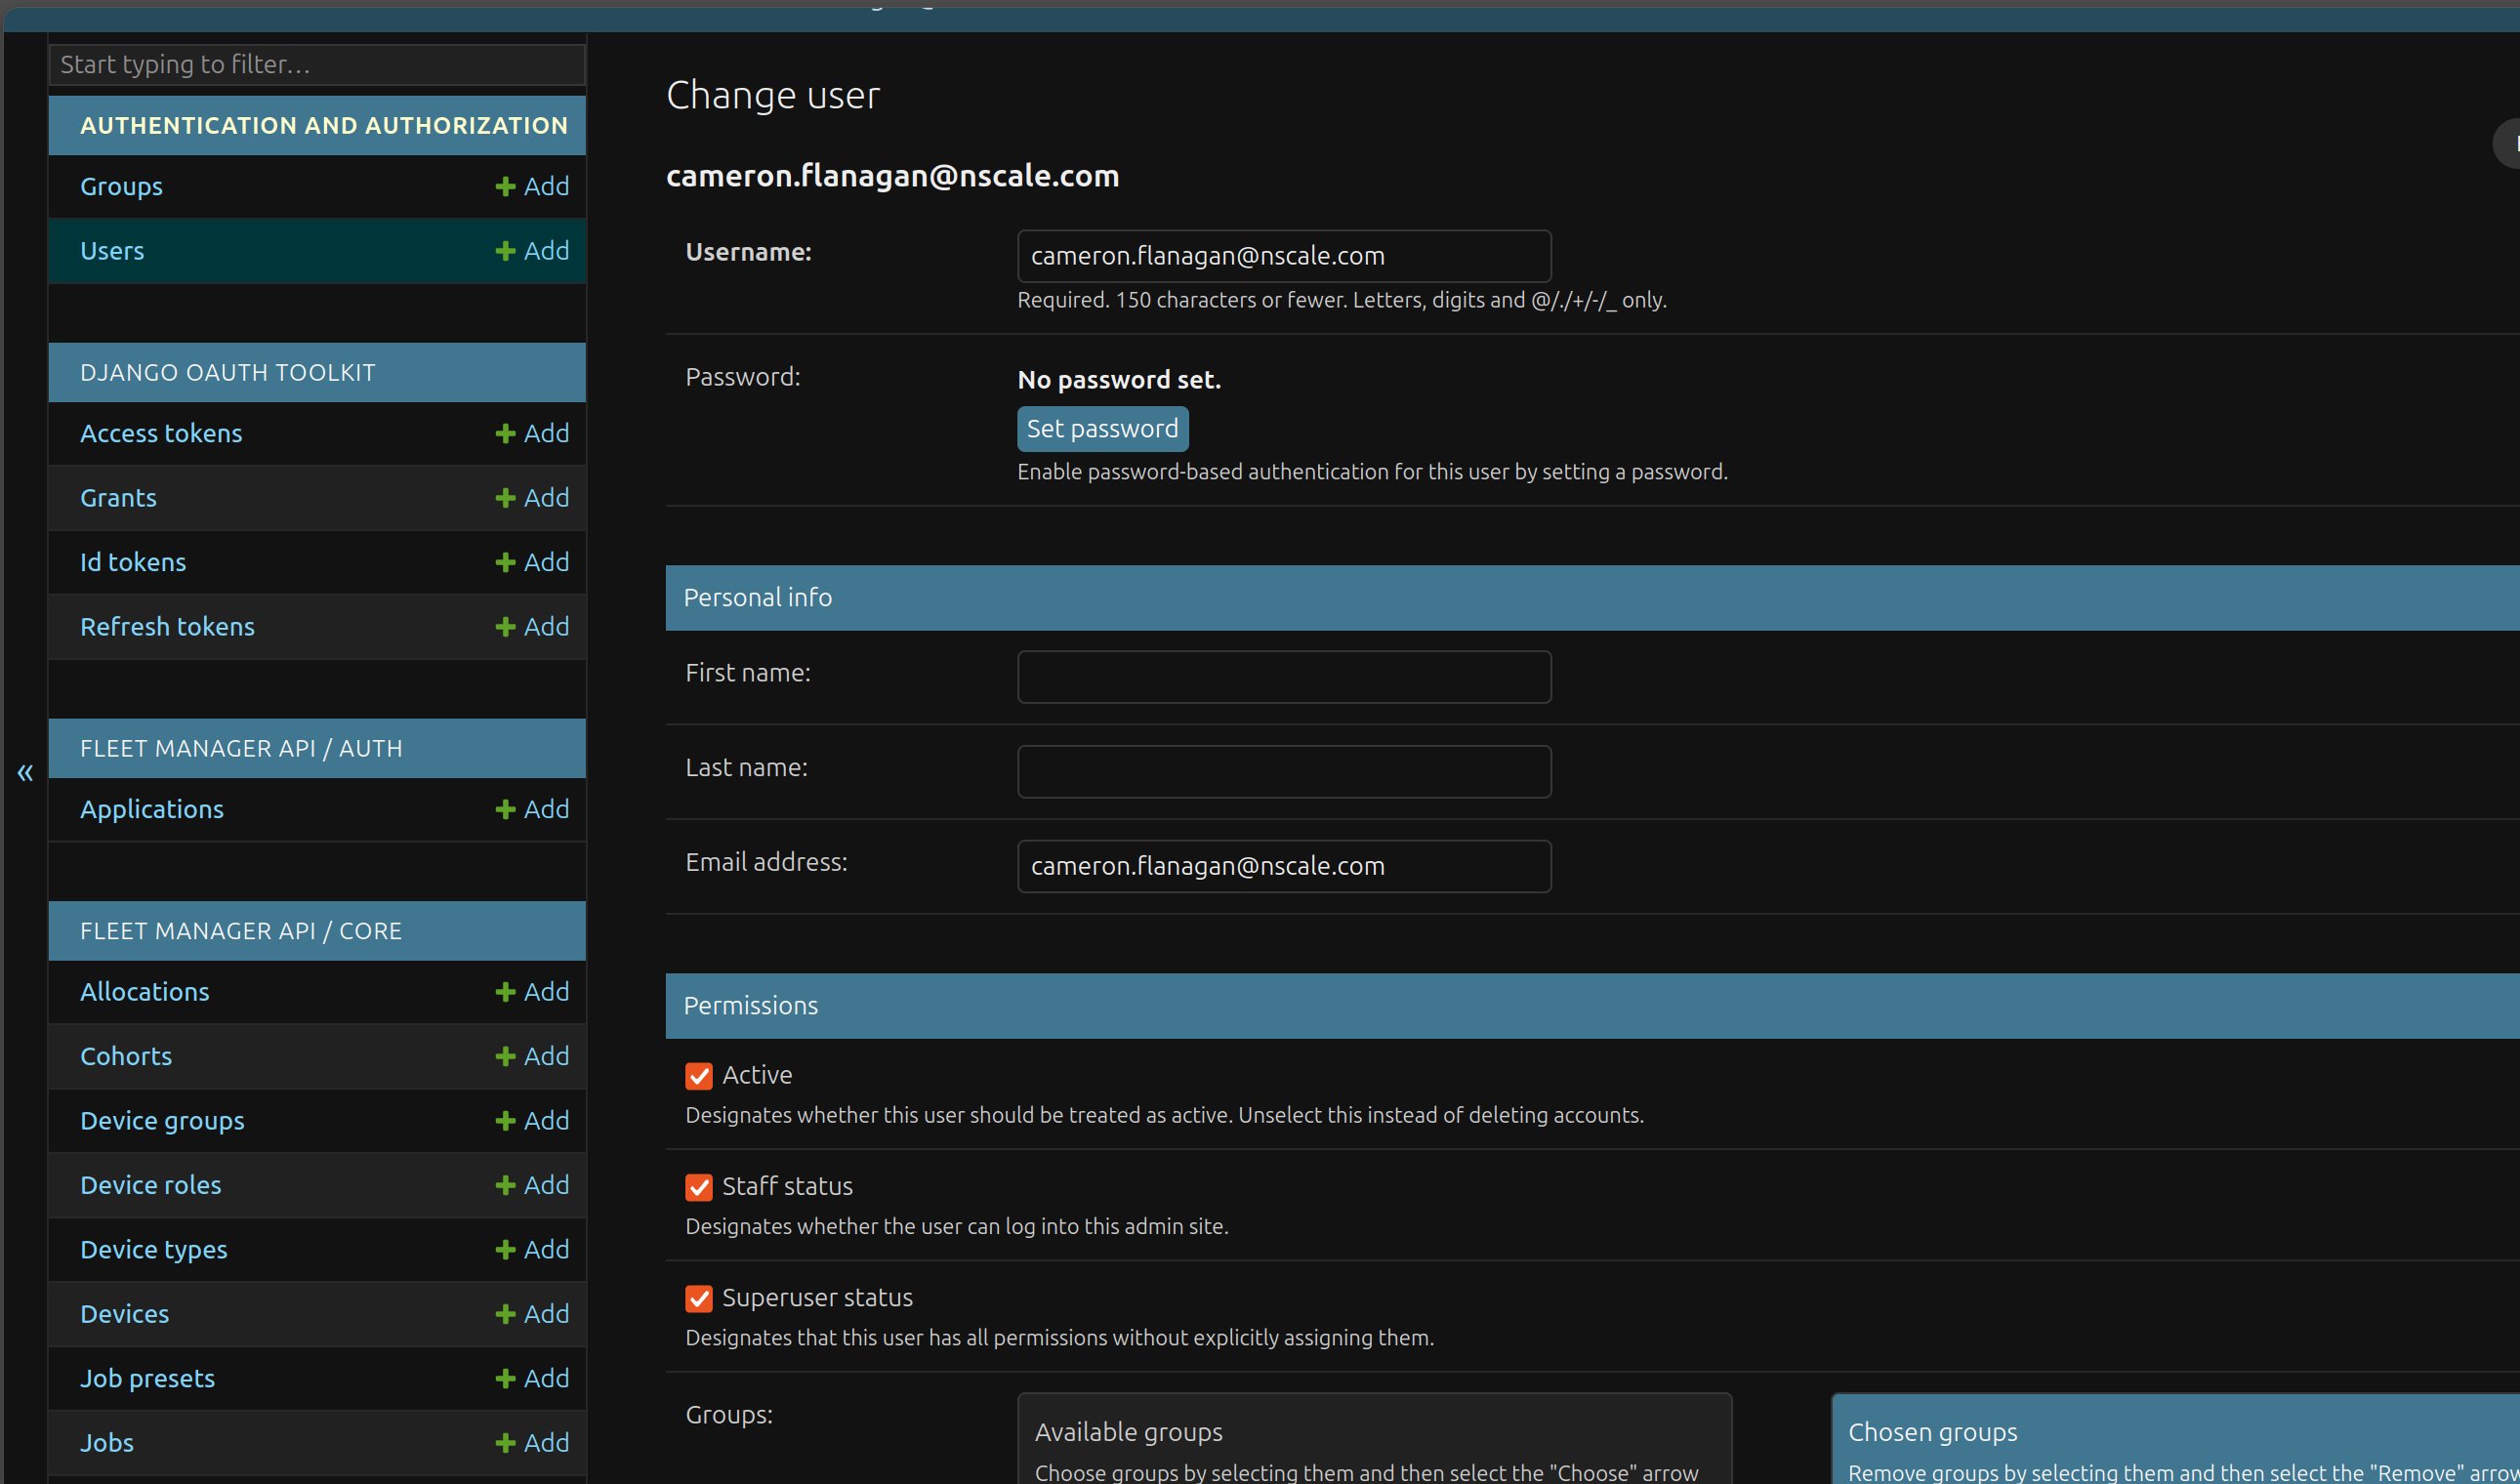
Fleet Manager has a Django backend with an admin panel at api.fleet.dev.nscale.com/admin that gives you direct database access, useful for inspecting state and verifying changes. To get access, request it from the FM squad. A squad member will grant you one or both of:- Staff status — allows login to the admin panel
- Superuser status — grants full database access (god mode)